How do I install a wall-mounted Helty MVHR?
A wall-mounted MVHR can be installed quickly and without costly work. Simply drill two 80mm cores on the perimeter wall, prepare the power supply and fix the unit to the wall using screws and dowels.
Helty wall-mounted MVHR systems are designed for plug-and-play installation. Installation involves drilling two small 80 mm core holes in the external wall, inserting and sealing the air ducts through the wall, fixing the unit to the wall with screws and expansion plugs, making the electrical connection, and positioning the external grilles. This applies to both FlowEASY and FlowPLUS. For versions equipped with a sensible heat exchanger, a condensate drain must also be provided.
For installations on upper floors, or where it is not possible to fit the grilles from outside, an optional 100 mm ducting kit is available. It includes foldable grilles that can be installed directly from inside the property.
For improved air distribution and optimum acoustic comfort, the recommended installation position is at a central point on a wall in the room to be ventilated, as high as possible while complying with the recommended minimum clearances. The unit can be installed vertically or horizontally, depending on the selected MVHR version.
*Versions equipped with a sensible heat exchanger must be installed vertically to allow condensate drainage.
Access the reserved area to download the installation manuals with detailed instructions and installation templates.
The product mentioned in this FAQ
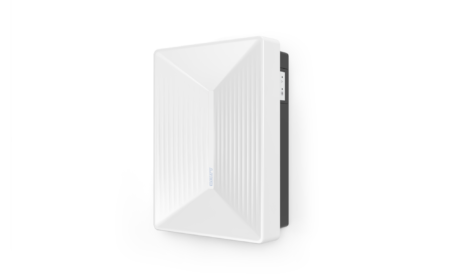
FlowEASY
The wall-mounted MVHR system is efficient, compact and functional.
Go to product sheetCertified quality and performance
The performance of the Helty ventilation systems are recognized by the Casa Clima Quality Seal and have obtained the SIMA and BioSafe validations